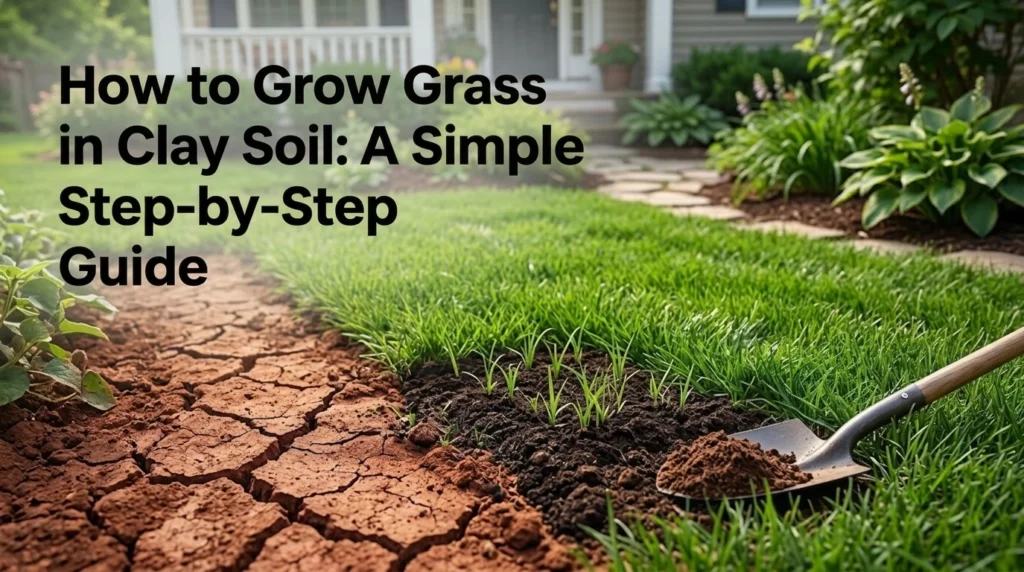
Grass can grow in clay soil, but you must first improve the soil where its roots will grow. Heavy clay holds water and nutrients well, yet it drains slowly and becomes hard when compacted. Grass can grow in clay soil, but you need to prepare the ground first. Test the soil, fix drainage problems, and loosen the clay only when it is dry enough to crumble. Then mix in finished compost, choose grass that fits your climate, and water without making puddles.
Do not plant seed on hard clay and hope that fertilizer will solve the problem. Also, avoid adding sand or gypsum without a clear reason. Sand and gypsum may not fix the real problem. In some clay soils, using the wrong product can make the ground even harder to work.
Before You Start: This method is for bare clay soil or a full lawn renovation. Do not till a lawn that already has grass. For an established compacted lawn, core aerate the soil, spread a thin layer of compost, and overseed if needed.
Quick Checklist: Growing Grass in Clay Soil
To grow grass in clay soil:
- Confirm that the soil contains clay.
- Get a laboratory soil test.
- Check drainage and the slope of the yard.
- Wait until the soil is dry enough to work.
- Remove weeds, rocks, and old turf.
- Loosen the upper soil layer.
- Mix in finished compost.
- Choose grass suited to your climate and sunlight.
- Plant during the correct season.
- Keep the surface moist without flooding it.
- Mow only after the new grass is ready.
- Prevent future compaction.
Can Grass Grow in Clay Soil?
Yes. Clay soil does not stop grass from growing, but untreated clay can make it harder for new grass to take root.
Clay has very small particles. These particles pack closely together, which slows the movement of water and air. New roots may struggle to move through dense, wet, or compacted soil. A crust can also form on the surface and make it harder for grass seedlings to emerge.
Clay soil also has useful qualities. It can hold water and nutrients longer than sandy soil. Once you improve its structure and avoid compaction, it can support a strong lawn.
Three soil terms are helpful here:
- Soil texture means the amount of sand, silt, and clay in the soil.
- Soil structure means how the soil pieces join together and how much space is left for air, water, and roots.
- Soil compaction happens when those open spaces are pressed together.
You cannot easily change the natural texture of a whole yard. Your goal is to improve the structure around the roots.
How to Tell if You Have Clay Soil
Hard ground does not always mean clay. Other types of soil can also become hard and compacted, especially around new homes, walkways, play areas, and construction sites.
Perform a Simple Ribbon Test
Take a small handful of soil from a few inches below the surface.
- Remove stones, roots, and grass.
- Add a small amount of water.
- Roll the soil into a ball.
- Press it between your thumb and finger.
- Try to form a flat ribbon.
Soil with a high clay content usually feels smooth and sticky when wet. It can often form a long ribbon without breaking. Sandy soil feels gritty and falls apart more easily.
This home test gives you a useful clue, but a laboratory test offers more reliable information about soil texture, pH, organic matter, and nutrients.
Look for Common Clay-Soil Signs
You may have clay soil if it:
- Feels sticky after rain
- Stays muddy for a long time
- Becomes very hard when dry
- Develops wide cracks during dry weather
- Forms large clods when dug
- Drains slowly
- Produces surface runoff
- Creates standing water
- Forms a hard crust over seed
- Is difficult to push a screwdriver into
Clay near a new house may be exposed subsoil left after the original topsoil was removed during construction. Heavy machines can make this soil even more compacted.
Choose the Best Grass for Clay Soil and Your Climate

Do not choose grass based on soil type alone. Climate, sunlight, water, foot traffic, and maintenance level matter just as much.
These are common options in the United States:
| Grass type | Best fit | Main strength | Main limitation |
| Tall fescue | Cool-season and transition areas | Adaptable and fairly deep-rooted | Does not repair bare spots quickly |
| Kentucky bluegrass | Cooler northern areas | Forms a dense lawn and spreads | Needs more care during heat and drought |
| Perennial ryegrass | Cool-season regions and mixtures | Germinates quickly | Can struggle in intense heat |
| Fine fescue | Cooler, lower-input or partly shaded sites | Better shade and lower-input performance | Less suited to heavy traffic |
| Bermudagrass | Hot southern regions | Handles heat, sun, and wear well | Performs poorly in shade |
| Zoysiagrass | Warm regions | Dense and durable | Establishes slowly |
| Buffalograss | Sunny, dry Great Plains sites | Needs less water once fully grown | Poor choice for shade or humid sites |
Cool-season lawn choices commonly include Kentucky bluegrass, tall fescue, fine fescue, and perennial ryegrass. Common warm-season choices include bermudagrass and zoysiagrass. Buffalograss may suit sunny, dry locations where lower water use is a goal.
Best Options for Northern Lawns
For cooler areas, common choices include tall fescue, Kentucky bluegrass, fine fescue, and perennial ryegrass blends. Tall fescue suits many durable lawns. Fine fescue can handle some shade and needs less care. Kentucky bluegrass spreads to fill small gaps but may need more water during summer.
Best Options for Southern Lawns
Bermudagrass and zoysiagrass are common choices for hot southern areas. Bermudagrass spreads faster and needs strong sunlight. Zoysiagrass grows more slowly but forms a dense lawn and may handle light shade better.
Best Option for Dry Great Plains Lawns
Buffalograss may suit sunny, dry, low-traffic lawns in the Great Plains. It needs regular water while taking root but uses less water once fully grown.
Why Local Cultivars Matter
A grass species may perform well in one state and struggle in another. Cultivars also differ in disease resistance, cold tolerance, color, and growth rate.
Check your local Cooperative Extension recommendations before buying seed or sod. Choose certified seed when possible, and read the label to see exactly which species and cultivars are in the bag.
How to Grow Grass in Clay Soil Step by Step
Step 1 — Test the Soil
Send a soil sample to a laboratory before adding fertilizer, lime, sulfur, or gypsum.
A useful soil test may report:
- Soil pH
- Phosphorus
- Potassium
- Organic matter
- Lime needs
- Fertilizer recommendations
Take samples from several places and combine them according to the laboratory’s instructions. Avoid sampling only the worst patch.
Clay soil often holds nutrients well, so adding more fertilizer without testing may not help. A soil test can also prevent the use of lime where it is not needed.
Step 2 — Check Drainage and Grade
Inspect the yard during or soon after rain.
Look for:
- Water beside the house
- Puddles that remain for a long time
- Downspouts emptying onto the lawn
- Soil that slopes toward a building
- Water flowing across the seedbed
- Low spots that stay muddy
Finished compost can improve soil structure, but it cannot correct every drainage problem. You may need to extend a downspout, reshape a low area, add a shallow swale, or hire a professional for grading or drainage work.
Do not add soil over large tree roots to correct the grade. Even a change in soil depth can harm established trees. A ground cover or mulch may be safer in areas with exposed roots.
Step 3 — Wait Until the Clay Is Dry Enough to Work
Pick up a handful of soil and squeeze it.
The soil is too wet if it:
- Smears across your hand
- Feels very sticky
- Forms a wet lump that will not break
- Sticks heavily to your tools
Wait until the soil breaks into smaller pieces with moderate pressure.
Tilling or walking on wet clay presses the particles together. This can create large clods and make drainage worse.
Step 4 — Remove Weeds, Rocks, and Old Turf
Clear the area before improving the soil.
Remove:
- Perennial weeds
- Large roots
- Rocks
- Plastic
- Construction waste
- Thick old turf
- Wood scraps and other buried material
Do not till through major tree roots. Also, do not bury a thick layer of living grass because it may create an uneven surface as it breaks down.
If perennial weeds are widespread, control them before seeding. Follow all product labels, and allow the required waiting time before planting.
Step 5 — Loosen the Bare Soil
Loosen the top 4 to 6 inches of soil where the site allows it.
For a small area, use a garden fork or shovel. For a full new lawn, a tiller may save time. Work across the site in more than one direction, but avoid turning the soil into fine dust.
Break large clods after they have dried slightly. Do not leave a smooth, polished clay surface because seedling roots and water may struggle to pass through it.
Step 6 — Add Finished Compost
Spread about 1 to 2 inches of finished compost over poor bare soil, then mix it through the upper 4 to 6 inches. The exact amount should reflect your soil-test results, site conditions, and local Extension advice.
For 1,000 square feet:
- A 1-inch layer is about 3 cubic yards.
- A 2-inch layer is about 6 cubic yards.
Use mature, finished compost. Avoid material that smells strongly of ammonia, heats up, contains large pieces, or has a high salt level.
Mix the compost through the root zone. Leaving a separate compost layer over clay may create uneven water movement and weak root growth.
Step 7 — Level and Firm the Seedbed
Rake the soil to remove large clods and fill small low spots.
The finished seedbed should be:
- Even
- Free of deep holes
- Gently sloped away from buildings
- Loose enough for roots
- Firm enough that your foot does not sink deeply
You can firm a large area with a light roller. Avoid pressing it until it becomes hard.
Walk across the area and rake again where deep footprints remain.
Step 8 — Plant at the Right Time
Timing affects seed germination, root growth, weeds, heat stress, and watering needs.
Cool-Season Grass
Late summer through early fall is usually the best planting period for cool-season lawns. The soil is warm enough for germination, while cooler air supports root growth. Spring can work, but young grass must then face summer heat and stronger weed pressure.
Warm-Season Grass
Plant warm-season grass during late spring or early summer, after the soil has warmed and the grass has entered active growth. Bermudagrass, zoysiagrass, and similar grasses should have enough warm weather left to establish before fall.
Local planting dates matter more than a general calendar. Check your state Extension guide before buying seed or sod.
If you are improving an existing thin lawn rather than starting from bare soil, you may not need to remove the existing grass. Overseeding a thin lawn can help fill weak areas while keeping the established turf in place, as long as you first address problems such as compaction, poor drainage, or the wrong grass type.
Step 9 — Spread Seed Evenly
Measure the planting area before opening the seed bag.
Then:
- Read the label for the correct seeding rate.
- Divide the seed into two equal portions.
- Spread one half while walking in one direction.
- Spread the other half at a right angle.
- Lightly rake the seed into the surface.
- Press it gently into contact with the soil.
Most lawn seed should remain close to the surface. Burying it deeply can reduce germination.
For example, tall fescue seed is commonly lightly raked into roughly the upper quarter-inch of soil rather than buried. Good seed-to-soil contact is one of the main needs for successful establishment.
Step 10 — Protect the Seedbed
Protection may be useful on slopes, near downspouts, or where birds, pets, or runoff disturb the soil.
You can use:
- A clean erosion-control blanket
- A thin seed cover
- Temporary fencing
- Marking stakes
- A light mulch made for lawn seeding
Do not spread a thick layer over the seed. Seedlings need light and space to rise through the cover.
Avoid hay or dirty straw that may contain weed seed.
The watering routine will also need to change as the grass moves from seed to young seedlings. During germination, the goal is to keep the surface evenly moist without creating puddles, then gradually water deeper as the roots develop. Knowing when and how much to water new grass can help you make that transition without keeping clay soil constantly saturated.
Step 11 — Water Without Waterlogging the Clay
New seed needs steady moisture near the surface. Clay, however, absorbs water slowly and can remain wet for a long time.
During early germination:
- Use a gentle sprinkler setting.
- Apply short watering cycles.
- Keep the upper surface evenly moist.
- Stop before puddles or runoff appear.
- Check shaded and low areas before watering again.
As the seedlings grow, reduce the number of watering sessions and begin wetting the soil more deeply.
Clay soil can absorb water as slowly as a small fraction of an inch per hour. Water applied too quickly may run away before it reaches the roots. A cycle-and-soak method—watering briefly, pausing, then watering again—can improve infiltration and reduce runoff.
Place several straight-sided cans around the sprinkler area. Compare the amount collected to find dry and wet spots.
Do not follow the same schedule after heavy rain. The surface can look dry while the soil below remains saturated.
Step 12 — Make the First Mow at the Right Time
Wait until most seedlings have reached the normal mowing range for that grass.
Before mowing:
- Make sure the ground is firm.
- Check that mower wheels will not sink.
- Use a sharp blade.
- Set the mower at a suitable height.
- Remove no more than one-third of the blade.
If the grass is wet or pulls loose easily, wait.
For a seed mixture, some species may grow faster than others. Give the slower seedlings enough time to become secure. The University of Maryland’s new-lawn establishment guidance also recommends shifting gradually from frequent surface watering to deeper watering as seedlings become tall enough to mow.
Should You Add Sand, Gypsum, or Topsoil to Clay?
Sand and gypsum do not fix every clay lawn. Use them only when a soil test or local expert shows that they are needed.
Should You Add Sand to Clay Soil?
For most homeowners, adding a small amount of sand is not a safe shortcut.
Sand does not disappear into clay. In the wrong proportion, sand can fill the small spaces between clay particles and form a dense, hard mixture. Utah State University Extension warns that poor sand-to-clay ratios can produce soil similar to low-grade concrete.
Engineered sports fields may use carefully designed sand-based soil systems. That is very different from spreading a few bags of sand across a home lawn.
For a normal yard, finished compost is usually the more practical amendment.
Does Gypsum Break Up Clay Soil?
Gypsum is not a universal clay breaker.
It can help certain sodic soils, where excess sodium damages soil structure. Most ordinary clay lawns do not have this problem.
Use gypsum only when a laboratory test shows a sodium issue or a local soil expert recommends it. It does not lower soil pH in the same way as sulfur, and adding it without a reason may offer little benefit.
How to Care for Grass Growing in Clay Soil
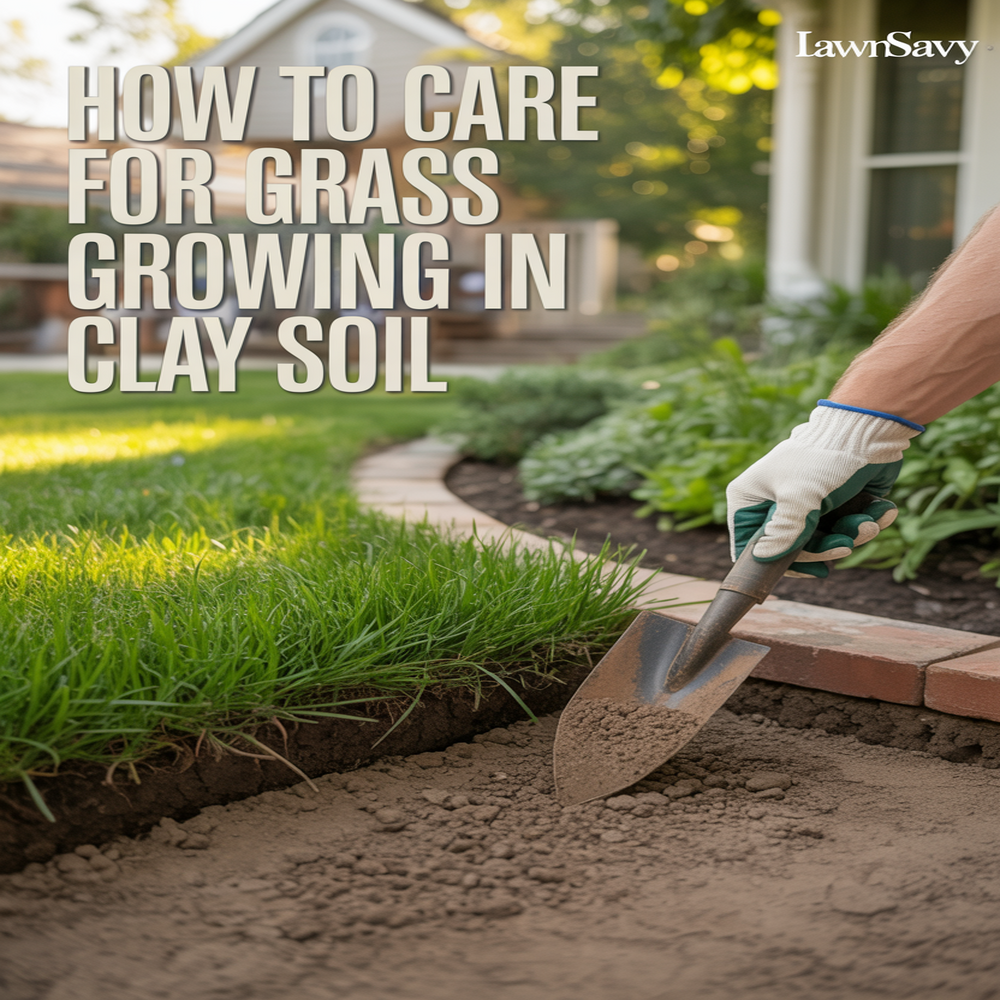
Soil improvement does not end after the grass appears. Clay lawns need care that protects the root zone from compaction and excess water.
Core Aerate When the Grass Is Actively Growing
Core aeration removes small plugs of soil. These openings allow more air into the root zone and can help water, seed, and organic matter reach the soil.
Use a core aerator rather than spike shoes or a tool that only punches narrow holes. Solid spikes may press the surrounding soil more tightly, while hollow tines remove actual cores.
Aerate:
- Cool-season grass during active fall growth
- Warm-season grass after spring green-up or in early summer
- Only when the soil is moist, not soaked
- More often where traffic compacts the lawn quickly
Adjust Watering for Slow Drainage
Do not water a clay lawn only because a timer says it is time.
Check the soil first. If runoff begins before the root zone is wet:
- Stop watering.
- Wait for the water to soak in.
- Run the sprinkler again.
- Repeat only as needed.
This cycle-and-soak method is often more useful than one long irrigation period on clay.
Fertilize According to Soil and Grass Needs
Follow your soil-test recommendations and local fertilizer rules.
Clay often holds nutrients well, so more fertilizer is not always better. Avoid adding phosphorus when the soil already contains enough. Do not apply lime unless the pH test shows that it is needed.
Reduce Traffic When the Soil Is Wet
Wet clay compacts easily.
Keep cars, heavy equipment, and repeated foot traffic off the lawn after rain. If the same route is always used, add stepping stones or a path instead of trying to grow grass there.
Common Problems When Growing Grass in Clay Soil
| Problem | Likely cause | First action |
| Seed does not germinate | Seed dried out, was buried too deeply, or the surface crusted | Check moisture and seed depth |
| Seed moves into piles | Watering is too strong or runoff crosses the area | Use gentler watering and erosion control |
| Lawn stays muddy | Too much irrigation or poor drainage | Stop watering and inspect the grade |
| Grass remains thin | Compaction, shade, poor seed choice, or weak establishment | Check the site before reseeding |
| Soil cracks in summer | The clay surface has dried and hardened | Improve organic matter and watering method |
| Sod does not root | Hard soil or poor contact below the sod | Lift an edge and inspect the root zone |
| Water runs off | Sealed soil surface or fast sprinkler output | Use shorter watering cycles |
| Weeds fill bare spaces | Grass established slowly or the site is unsuitable | Correct the growing conditions first |
Common Mistakes to Avoid
Planting Directly on Hard, Unprepared Clay
Seed needs contact with soil, but roots also need air and space. Grass placed on a hard clay surface may germinate and then fail as roots meet dense soil.
Tilling or Walking on Wet Clay
Wet clay sticks together under pressure. Wait until it crumbles instead of smearing.
Adding a Small Amount of Sand
A few bags of sand will not turn a clay yard into loam. The wrong mixture may become harder than the original soil.
Using Gypsum Without a Soil Test
Gypsum is mainly useful for certain sodium-related soil problems. It should not be treated as a general lawn product.
Watering Until Puddles Form
Puddles do not mean the whole root zone is moist. They often mean water is arriving faster than the clay can absorb it.
Covering Seed Too Deeply
Deeply buried seed may not have enough energy to reach the surface. Light contact with the prepared soil is usually enough.
Using Sod to Hide a Drainage Problem
Sod gives quick color but does not repair the soil below it. Standing water and compaction can kill a new sod lawn.
How Long Does Grass Take to Grow in Clay Soil?
The timeline depends on the grass type, weather, soil temperature, moisture, and site preparation.
| Stage | What to expect |
| Soil testing | Several days to a few weeks |
| Drainage and soil preparation | A weekend to several weeks |
| Germination | Depends on the grass species and temperature |
| First mowing | After the seedlings reach the correct height |
| Basic establishment | Several weeks |
| A fuller, durable lawn | Often one growing season or longer |
| Better soil structure | Gradual change over several seasons |
Perennial ryegrass can emerge faster than Kentucky bluegrass, while zoysiagrass and buffalograss may take longer to form a full lawn. Do not judge success only by the first few days.
Keep new grass protected even after it looks green. A young lawn can have leaves above ground while its roots are still shallow.
Fix the Soil First, Then Plant the Grass
Grass can grow in clay soil, but success begins below the surface. Test the soil, correct serious drainage problems, and work only when the clay is dry enough to crumble. Use finished compost to improve the root zone, then choose grass that fits your climate, sunlight, and level of care.
At Lawn Savy, we recommend improving the cause of the problem instead of hiding it with seed, sod, or fertilizer. Water slowly, protect new roots, and keep heavy traffic off wet soil. Clay will not become perfect overnight, but steady care can produce a healthier and more dependable lawn.
Frequently Asked Questions
Can Grass Grow in Heavy Clay Soil?
Yes. Grass can grow in heavy clay when the soil has enough drainage, air, and organic matter. Correct preparation is especially important because roots struggle in compacted or saturated clay.
What Is the Best Grass Seed for Clay Soil?
There is no single best grass for every clay yard.
Tall fescue is a common cool-season option. Kentucky bluegrass, fine fescue, and perennial ryegrass may also work in suitable northern sites. Bermudagrass and zoysiagrass suit many warm regions. Buffalograss may work in sunny, dry Great Plains locations.
Choose according to climate, sunlight, traffic, and local Extension guidance.
Can I Plant Grass Seed Directly on Clay?
You can, but results are often poor if the surface is hard, crusted, or compacted.
Loosen the soil, correct drainage, add compost where needed, level the seedbed, and create good seed-to-soil contact first.
Should I Add Sand to Clay Soil?
Usually not as a home-lawn shortcut.
Small or unplanned amounts of sand can combine with clay to create a harder soil. Finished compost is usually a safer amendment for improving structure.
Does Gypsum Help Clay Soil?
Gypsum may help certain sodic soils that contain too much sodium. It does not improve every clay soil.
Get a soil test before using it.
Can I Put Topsoil Over Clay Before Seeding?
Yes, but do not spread a very thin layer over hard clay and leave the layers separate.
Loosen the clay and blend the new soil into the surface where practical. Make sure the imported soil is good quality and does not contain weed seed, high salt, or construction waste.
How Much Compost Should I Add to Clay Soil?
For a new lawn with poor soil or low organic matter, about 1 to 2 inches of finished compost mixed into the upper 4 to 6 inches is a common starting point. Adjust the amount according to your soil test and local guidance.
Do I Need to Till Clay Soil Before Planting Grass?
Bare, compacted clay may need to be loosened before planting. Small sites can be worked with a garden fork, while larger new lawns may need a tiller.